Registrant List
Within the Registrant List, you have the ability to:
- Sort the display using column filters
- Create custom views
- Create custom filters
- Export the data displayed
- View or edit attendee info to a selection of attendees
- Send emails to a selection of attendees
- Generate badges to a selection of attendees

Using column filters
When using the Registrant List, you can filter your content against any column of data. Directly under the header name of the column is a single line of text with a filter option. You can filter a column in multiple ways. A dropdown is shown below to display the possibilities:

The type of filtering is chosen by yourself from the dropdown above, and then you enter your value to filter by. For example, to find all Smith associates by last name you can filter the "Last Name" column to only view attendees whose Last Name "(C)ontains" "Smith".
To get more specific results, you can filter multiple columns at once. Simply add a value to more than one column and then hit "Enter" to filter.
You can also sort the Registrant List by a column by clicking on the column Field Name.
Adding new view
Creating a new view allows you to customize exactly which columns of data will appear on your screen and in your exported data report. Create a new view by clicking on the view dropdown box in the top right and select "Add new view".
From View dropdown
Click the "View dropdown" in the top right, and select "+ Add new view"

When creating the view, you give the new view a name, and can choose whether to make the view visible to all users in your account.
Then click "Add columns" to pull up a list of all available event questions and fields that can be added to your report. Check as many fields as needed. (Maximum of 60.)
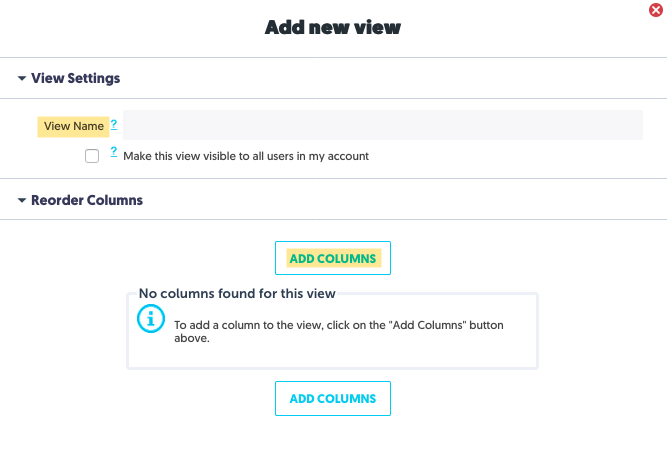
If you would like to share this new view with your team, or you would like this report to be cloned in future events, enable the Make this view visible to all users in my account feature.
From View settings
Another way of creating a new view is to click the View settings (gear) icon next to the View field.

In the Manage Views for Registrant List window, you can create a copy of the default View and then edit the columns, or click the Add New View button to create a new view.
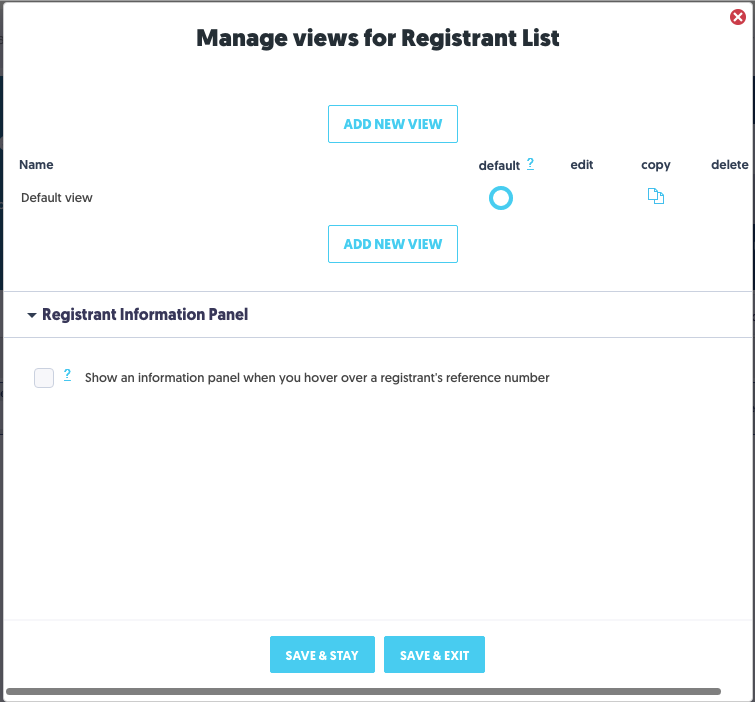
After creating custom views, you may also use the Manage Views window to designate which view you would like to display by default.
Editing New View
After selecting the columns/fields, click the Save & Exit button to return to the Add new view window.
At this point, you can re-arrange the order of the fields to change the order the field/columns will display on the screen.
When ready, click the Save & Exit button to return to the Registrant List screen to see your new view.
Adding new filters
Adding a new filter is similar to adding a view to the Registrant List. Creating filters allows you to filter results by category, registration status, as well as registered date and cancelled date. Like views, filters can also be made available to other users in the account.
Click the filter dropdown in the top right and select "+ Add new filter"

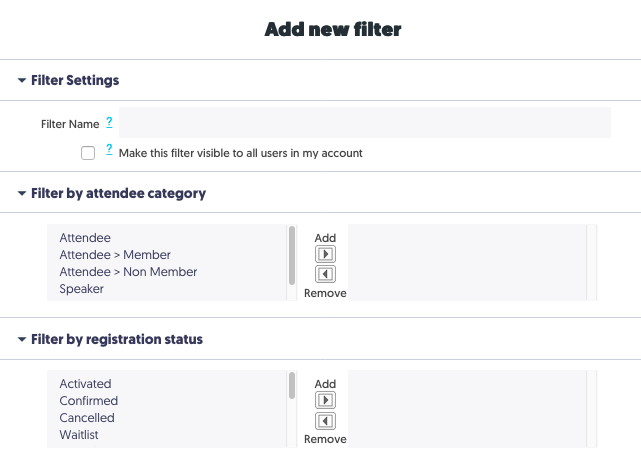
When creating the filter, provide a name, and choose whether it should be made visible to all users in the account.
Filtering can be done by attendee category and registration status. By default, all categories and statuses appear on the left hand side. If none are moved to the right, you will report on all categories and statuses. If you move select categories or statuses to the right hand side, you will only report on those selected.
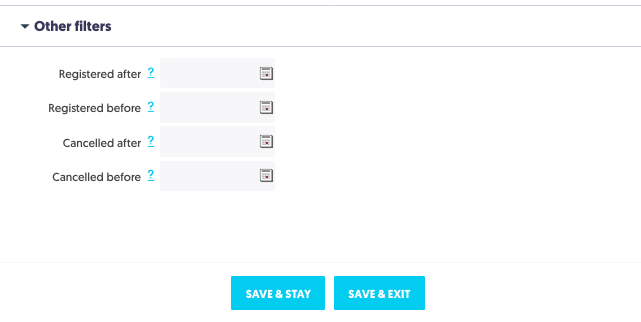
Other filter options include registration date, and/or cancellation date. Simply choose a date from the calendar dropdown to only view attendees who registered or cancelled on a specific date.
If you would like to share this new filter with your team, or you would like this filter to be cloned in future events, enable the Make this view visible to all users in my account feature.
Export data displayed
The Export Date button is a "what you see is what you export" feature. Whatever data is displayed can be exported as an Excel, CSV, or PDF file.
To adjust what data is displayed, use custom Views and Filters (see above).
With Check Records feature
In the Registrant List, you can take action on a group of records you have selected in the list.
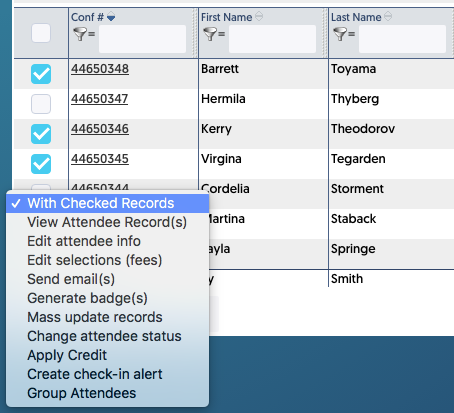
| Option | Description |
| View Attendee Record(s) | Open selected records in the View attendee details window. You can move forward or back through the records opened. Not for editing. |
| Edit attendee info | Edit each selected attendee's Attendee Info fields individually. You can move forward or back through the records opened. |
| Edit selections (fees) | Edit each selected attendee's Category, Sub-category, selected sessions or options. You can move forward or back through the records opened. |
| Send email(s) | Send an email from the Event Email tab to selected attendees. |
| Generate badge(s) | Generate a name badge or other merged document. Note: the badge template must be marked as Active on the Reports and Functions>Badges, Labels & Certificates section. |
| Mass update records | Update Personal Information (Attendee Info), Sessions, Options for all selected records. Note: Be careful when using this functionality - ALL the fields will be updated to contain whatever data you enter in the fields selected for ALL attendees that you selected to update. |
| Change attendee status | Change the Registration Status of all selected attendees. |
| Apply Credit | Apply a Credit to attendees' records. Note: the amount credited must be the same for all selected attendees. |
| Create check-in alert | Program an email alert triggered when the selected attendees check into the event (see Check-In Methods). |
| Group Attendees | Choice of forming a group with selected attendees or adding selected attendee(s) to an existing group. |